Tuesday, March 29, 2011

Regraded

I finished moving the dirt pile, so the property line and the new beds are finally done be regraded. I also added a few inches around the shed and sloped the ground up to ramp. Next step is planting grass seed and mulcing around the beds.... and maybe some warmer temps so the seeds will actually germinate!


Friday, March 25, 2011

New Garden Beds

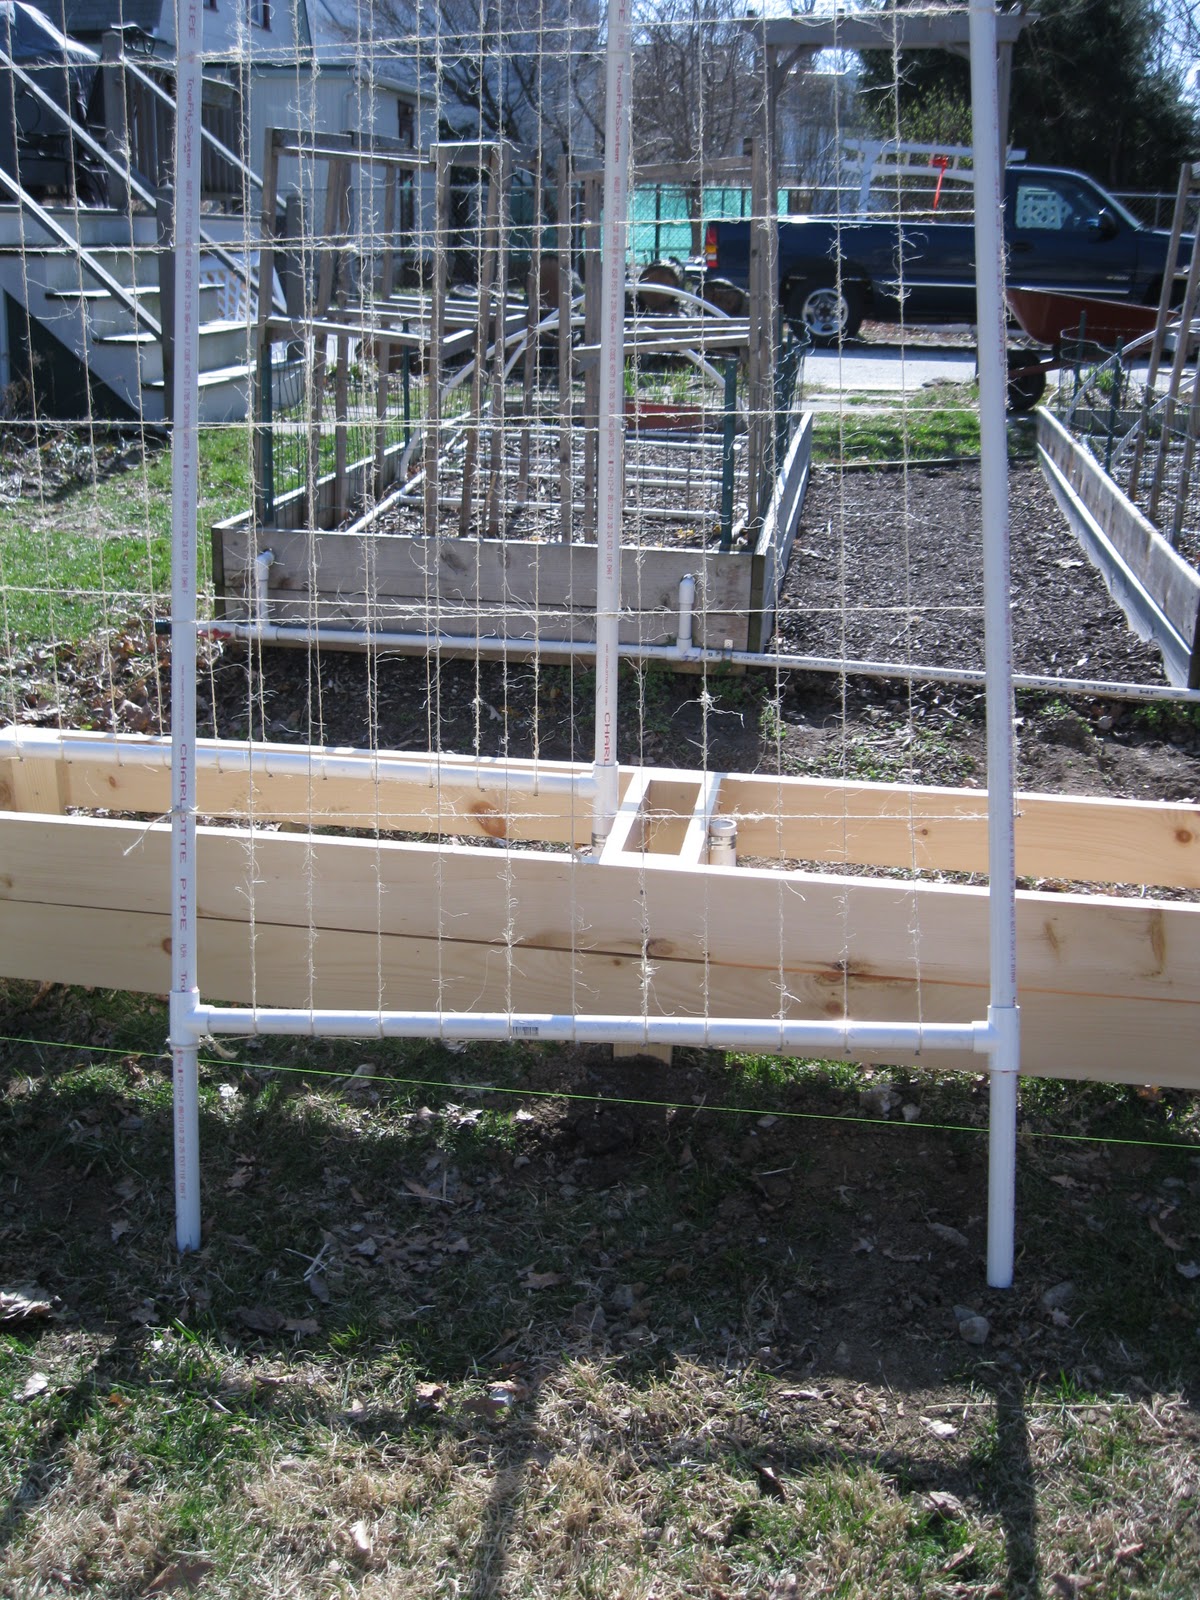
It's that time again and the veggies are already started and under the growing lights. Meanwhile I opted not to fence in the back yard and instead added two more raised beds along the property line for vine crops. The beds are cedar, 8 ft long x 18 inches wide.


The yard slopes down along the property line so I only did one board on the back and two on the front. I dug holes for the posts, dropped into place, leveled and then filled in with a mix of topsoil I had delivered and some of my home brew compost. I also came up with a removeable trellis system. First was installing 1 1/2 inch pvc pipe for the trellis to insert into. These are mounted with conduit clamps.


For the trellis system I built a frame using 1 inch pvc sch 40 pipe. It's 5 feet high plus a foot for the mounting legs. Then I used coated drywall screws around the perimeter so I can install a grid using twine for the plants to climb on.


Next is regrading. The first crop for the new beds is snap peas. Meanwhile the old beds are cleaned up with a fresh layer of compost. Planted so far is spinach, two types of lettuce, and carrots.

Monday, March 14, 2011

Tidy Panel

There hasn't been time for much work on the Hall House lately, but I did manage to get the electric service panel finally cleaned up. I figured the appraiser would not like a bunch of wires hangin out the front of the service! So here it is.


Meanwhile I've been slowly working on tearing out and trashing the 2 layers of panelling in the front bedrooms. I'm also ready to start on door number four... hopefully the pace will start picking up again now that the outage is over.

Sunday, February 27, 2011

Three Doors Down

No, not the band... that's how many doors have been constructed and installed on the 2nd floor. I already went into how I make a prehung door assembly using a salvaged door when I did the kitchen, so I won't go into detail again about that. The only difference here is with 5 doors being so close together in a hallway, making sure that I match up the door heights and other details as best I can is critical. An inch difference in height or a lockset that was installed much lower than another door would stand out much more here. So all these issues were considered when I picked a set of 5 doors to make these particular door assemblies. So far, so good...


These doors will still need to be stripped and prepped for painting. Meanwhile I'm prepping for an appraisal for a refi... fingers crossed. I was supposed to get a streamlined refi which didn't need one, but long story short it didn't pan out and Bank of America will never see my business again after they are paid off! Outage season came early this year at work, so super busy with work for the next few weeks. Hopefully I'll get another door or two done in that time..... oh and it's almost time to start the veggies for the garden!

Monday, February 14, 2011

Auction Finds

I've been hitting the auctions again after a few years lapse and I did pretty good at the last one. First is a mission oak chair that I've been looking for to use in the living room. It's all original and very clean. The original upholstery needs replacing which I'll have done in leather along with the oak rocker I already have. At $60 it was much cheaper than the candidates I've been finding on EBAY or at some antique dealers.

Next is a real nice working Victrola VV-50. It works great and just needed a little cleaning. This was the first portable model Victor made starting in 1921. The serial number dates this to 1923. There are spring clips inside to hold the arm and the crank from moving around. It locks close and includes a handle for easy carrying.... perfect for the beach or picnic! I'm sure this was quite a novelty back in the early 1920s! At $50 this was a no brainer bid for me.


Finally I picked up a Federal Orthosonic radio from 1925. These were a high end set in it's day and well built. It would have been powered by several batteries of different voltages. All the tubes are present which is a plus. This one required a bit of cleanup and I repainted the front panel. This was a decent buy at $90 and should do well on EBAY.


before


after cleanup

I picked up a nice Remmington shot gun ammo box for a friend of mine too. He was thrilled I was able to get him a $70 box for only $20... the nice thing about these new fangled picture taking phones!

Thursday, February 3, 2011

Dropping Dropped Ceilings

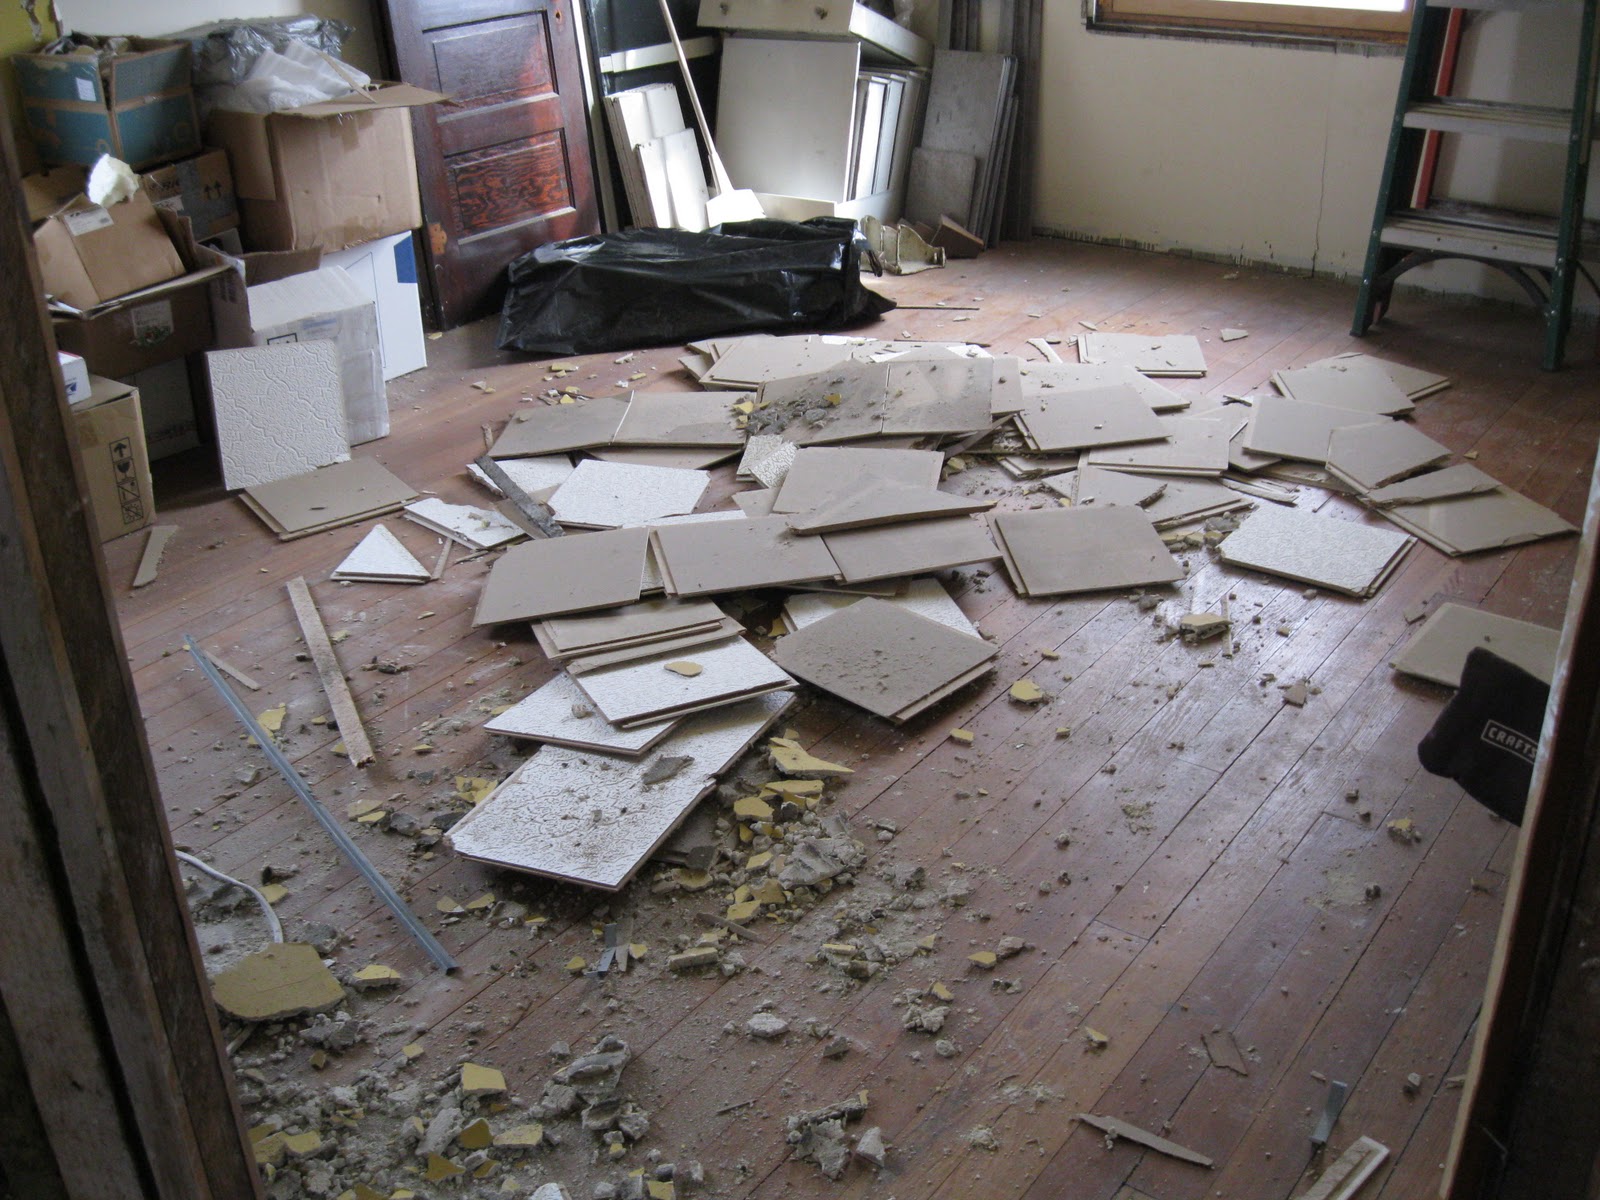
I'm going to slowly start doing the demo on the bedrooms so I can slowly get rid of the trash without getting overwhelmed. I'm starting with the ceiling. It's a 1 ft square tile system with a tongue and groove system that locks into the metal channels. So 4 trash bags of tiles later and a pile of tracks that I scrapped and the ceilings in the front bedrooms are gone....


and look what I found in the ceiling circa 1971....

Wednesday, January 26, 2011

Winter Break

Yea, I'm still around! Most of my motivation lately goes to shoveling snow. As I type we are getting hit with another storm... ugh! Meanwhile I have been doing some house related work in between keeping the wood stove in operation.

I haven't felt like spackling the basement and back staircases, so I've been working on clearing out the 3 room on the second floor in prep for the bedroom projects. I finished the upstairs kitchen gutting and the old stove and fridge are finally gone. I temporarily installed the back window that was where the sink was. In the spring I will take this back out so I can replace the sill. Meanwhile it's better than the piece of panel that was all that was covering the window opening.


Next I built a temporary clothes rack on the wall where the stove was so I can get the two front bedroom closets cleared out. My other bedroom set and misc items are all now in the old kitchen, leaving the two front bedrooms just about empty and ready to be gutted.... after I build doors to close off the bedrooms.


Closets..... 5yrs and still waiting!


Almost ready to be gutted

I've been in EBAY mode this month selling off alot of extra items, furniture I won't be using, etc. So this has been a win-win.... it helps with paying off the kitchen project and I'm getting my basement and the last of my junk rooms (soon to be bedrooms) cleared out!

Thursday, December 30, 2010

5 Years... and Counting!

It was 5 years ago today I started the Hall House adventure and what an adventure it's been! There's been plenty of ups and downs... and things have never quite gone as planned... but looking back, a hell of alot was accomplished and I would say for the better! Let's see how far things have come...

The Foyer


Dining Room


Kitchen


Powder Room


3rd Floor


Outside


Maybe I"ll be done before the 10th anniversary!

Sunday, December 26, 2010

A Hall House Painting

For Christmas this year my parents had their very talented neighbor paint a portrait of the Hall House to hang in my foyer. As you can see Jim did an amazing job!


On a bad note, apparently somebody didn't have any Christmas spirit. I wasn't the only one hit Christmas night on my street. The one arbor isn't bad, but the other will need a few pieces replaced. I'll wait till spring to deal with this mess. Meawhile the first big snow of the season is hitting the area and I have a snow blower that needs fixin.

Monday, December 20, 2010

Another Festivus Season at the Hall House

Progress has been slow again with some leftover problems at work keeping me busy and the holidays. I needed ornaments to do a tree, so in the true spririt of the Hall House... I went old school! That's right, what old house would be complete without Shiney Brite X-mas ornaments on the tree?! So I went on an EBAY hunt and found a few dozen from the 40s era.


I learned that during the war metals were obviously in short supply, so ornaments of those years were not silvered.... so if you find a clear one, chances are it was made during the WWII. I found a few of these as well.


Then of course there's the lights. Yep... vintage too! I actually had about 6 boxes of these given to me a few years ago and bought a few more sets to do a complete tree. These are early 40s era NOMA and Peerless sets. A wooden bead is threaded through the wires at each bulb... creating a loop for a brach to go through. Then you just slide the bead up against the light and this fastens it to the branch. Amazingly all the sets are in great condition.


Finally my grandfather's Lionel set is underneath that he received for Christmas in 1947.


....and of course the leg lamp is proudly displayed by the front window!